Introduction
When it involves home renovation jobs, few can match the appeal and beauty of hardwood flooring. Not only does it boost the aesthetic of any room, but it also adds worth to your home. If you have actually ever before thought about dealing with a hardwood floor setup on your own, you remain in for a gratifying challenge. In this detailed guide, we'll walk you with every action of the process, from choosing the right materials to ending up touches. This isn't just a tutorial; it's a DIYer's desire come true!
Hardwood Flooring Setup: An Overview
What is Hardwood Floor Installation?
Hardwood floor installment describes the process of putting down wood planks in different patterns and styles to create a long lasting and attractive flooring service. This process can be done in numerous means-- nailing, gluing, or making use of click-lock systems.
Why Select Wood Flooring?
- Aesthetic Appeal: The all-natural elegance of wood can enhance any home decor. Durability: With correct treatment, wood floorings can last a lifetime. Resale Value: House with wood flooring have a tendency to market faster and at greater prices.
Preparing for Your Wood Floor Installation
Assessing Your Space
Before you dive into your job, take some time to evaluate your space.
Measuring Your Room
Measure the length and width. Multiply these dimensions for square footage. Add 10% for waste and cuts.Choosing the Right Hardwood
Choosing the best type of wood is essential. You'll locate alternatives like oak, maple, cherry, and hickory.
Solid vs. Engineered Wood
- Solid Hardwood: Made from solid items of timber; perfect for traditional settings. Engineered Wood: Made up of layers; extra secure in moist areas.
Selecting Complete Options
Your choice of coating will impact both look and durability.
Types of Finishes
- Oil-based Polyurethane: Deals longevity however takes longer to dry. Water-based Polyurethane: Dries quickly; much less odor during application.
Tools and Products Needed
Essential Tools for Wood Flooring Installation
Having the right devices makes a world of difference.
Table saw Miter saw Hammer or nail gun Tape measure Level Pry bar Flooring cleats (if nailing)Necessary Materials
Make certain you have everything prior to beginning:
Hardwood planks Underlayment Moisture obstacle (if needed) Finish product Tacks or adhesive (relying on your installation technique)Step-by-Step Hardwood Floor Installment Process
Step 1: Preparing the Subfloor
The success of your hardwood floor installment rests on a solid subfloor.
Cleaning and Leveling
Ensure that your subfloor is clean and degree:
- Remove all old flooring materials. Fill low areas with leveling compound.
Step 2: Setting up Underlayment
Underlayment supplies cushioning and insulation.
How to Install
Roll out underlayment throughout the whole flooring location:
- Overlap joints by at least 8 inches. Cut to fit about obstacles like pipes.
Step 3: Accustoming Your Wood
Letting your timber acclimate aids avoid warping later on.
How Lengthy Must You Acclimate?
Generally, 48-- 72 hours in an environment comparable to where it will certainly be set up is recommended.
Step 4: Putting down the First Row
Start along one wall surface with your first row:
Place boards with tongue encountering the wall. Use spacers for growth spaces (typically 1/2 inch).Step 5: Putting up Succeeding Rows
Continue with subsequent rows using a staggered pattern:
Tips for Staggering
Aim for arbitrary sizes for visual allure:
- Avoid lining up joints; this enhances stability.
Step 6: Nailing or Gluing Down Boards
Secure each board according to your picked technique:
Nail Down Method
If nailing down:
Use floor covering cleats every 6-- 8 inches. Ensure no nails are holding up above the surface.Glue Down Method
If gluing:
Apply glue uniformly on subfloor. Press boards firmly into area without shifting them around also much.Finishing Touches After Installation
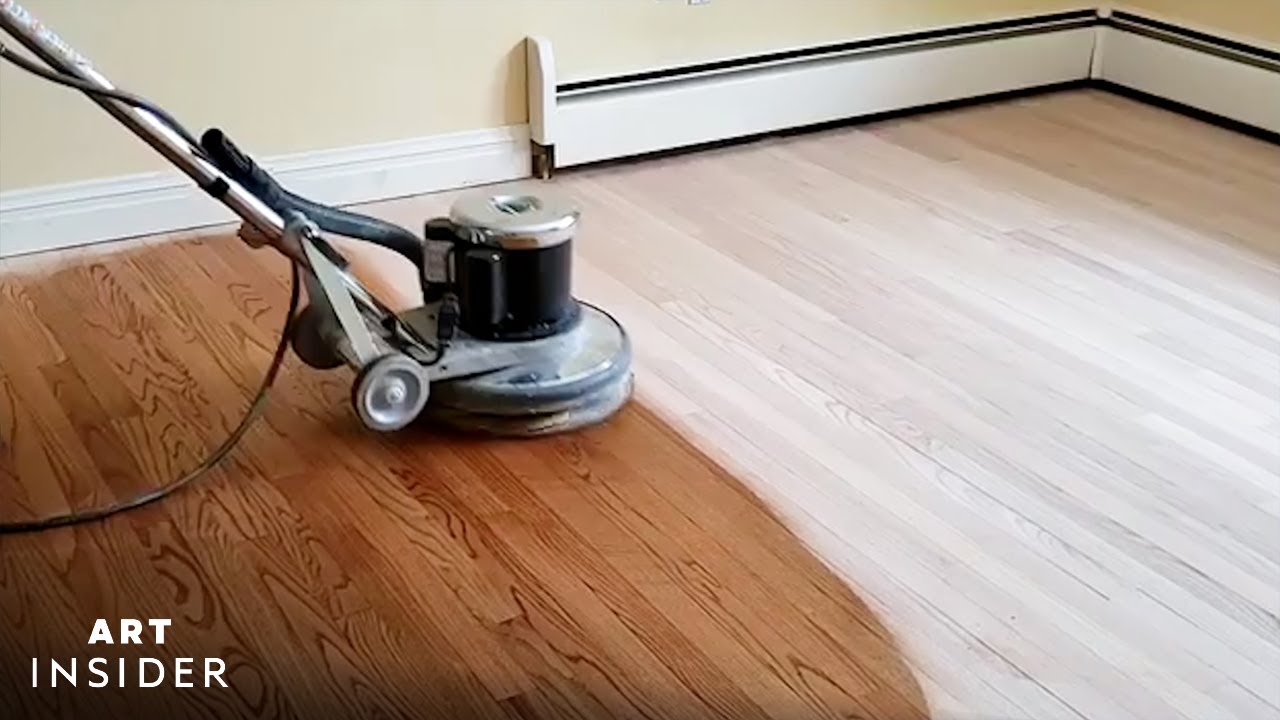
Sanding Your New Floors
Once your boards are set, fining sand is usually necessary if they have actually not been pre-finished.
How to Sand Properly
Use an orbital sander after making certain all edges are smooth:
- Start with crude grit sandpaper prior to transferring to finer grits.
Applying Finish
Time for that beautiful sparkle! Whether oil or water-based, use equally:
Use a roller or brush relying on the surface type. Allow ample drying out time in between coats-- typically concerning 24 hours minimal per coat.Maintaining Your Recently Set up Hardwood Floors
Regular Cleaning Practices
Keep dust at bay by consistently sweeping or vacuuming:
Use a soft-bristle broom or vacuum accessory made for wood floors. Damp wipe occasionally however stay clear of soaking the wood surface.Refinishing When Necessary
Over time, wear can plain even one of the most beautiful floorings:
Signs It's Time for Refinishing
Look out for scrapes or dullness-- this suggests refinishing may be needed:
- Typically every 5-- 10 years depending upon traffic degrees in your home.
FAQs About Hardwood Flooring Installation
Q1: Can I mount wood floorings over concrete?
Yes! Nonetheless, make certain appropriate dampness barriers are utilized beneath if you're collaborating with concrete floors.
Q2: For how long does it typically require to set up wood flooring?
It varies based on room dimension; nonetheless, most installments take anywhere from https://lorenzokfsx387.wpsuo.com/from-beginning-to-end-what-to-anticipate-during-your-wood-floor-setup eventually to several days when considering adjustment time as well!
Q3: What must I do if my brand-new floorings warp?
Guarantee you have actually permitted sufficient adjustment time before setting up; if concerns occur post-installation because of humidity changes, speak with professionals about potential repairs like redecorating or replacing affected sections.
Q4: Is it possible to redecorate my floorings myself?
Absolutely! Redecorating calls for some skill but is manageable with perseverance-- simply ensure you have all essential equipment beforehand!
Q5: What should I do if I inadvertently harm a plank throughout installation?
A lot of damaged slabs can be replaced quickly by eliminating them without disrupting surrounding boards-- maintain some additional planks convenient simply in case!
Q6: Exactly how often must I cleanse my hardwood floors?
Routine upkeep entails sweeping daily while moist wiping weekly; heavier cleaning (like gloss) might happen monthly relying on foot web traffic levels in your space!
Conclusion
Embarking on a wood flooring installment project is certainly a journey that settles handsomely in terms of looks and property value alike! By following our overview titled "Step-by-Step Wood Flooring Installation: A DIYer's Desire", you'll find that this once-daunting job comes to be approachable-- and also enjoyable! With cautious preparation, prep work, and implementation paired with some elbow grease-- you'll quickly bask in the elegance of those recently set up hardwood floorings that yell sophistication while being functional too! So roll up those sleeves; allow's make that dream come to be reality today!
This article provides vital details regarding both hardwood floor installation and hardwood flooring refinish techniques along with functional recommendations intended straight at DIY enthusiasts excited to elevate their living spaces successfully! Satisfied flooring!